Printer Offline
Printer Setup
Scanner Setup
Diagnostic
Support Home
Business Support
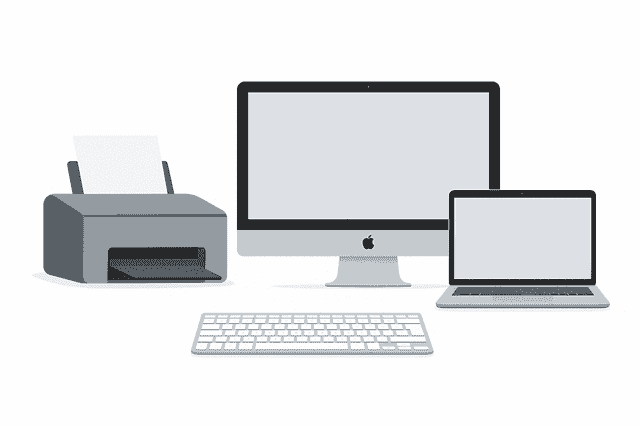
Get Instant Support to Setup Printer & Scanner
Printer is not printing.
Fix Printer and Scanner.
Connect Printer to Computer.
Fix Printer Offline fast.
Connect Scanner to PC.
Easy steps to help printer & scanner issues
123 Printer Setup. Easy Remote Assistance | Get Expert help.
To set up your printer, first you need to connect your printer to computer via USB or Wi-Fi then visit the official Printer website and download Printer software and Drivers. The Printer software will help you to setup printer on windows computer, mac computer and on other devices. By entering your printer model, you can follow simple steps to install Printer and resolve common printer setup Problems.
At Smartdevicesassistance, we provide step-by-step printer setup, scanner setup, and troubleshooting guides to help you fix common issues such as Can’t Connect Printer to Computer, Can’t Print Email, printer offline errors, can’t scan to computer and wireless connectivity problems.
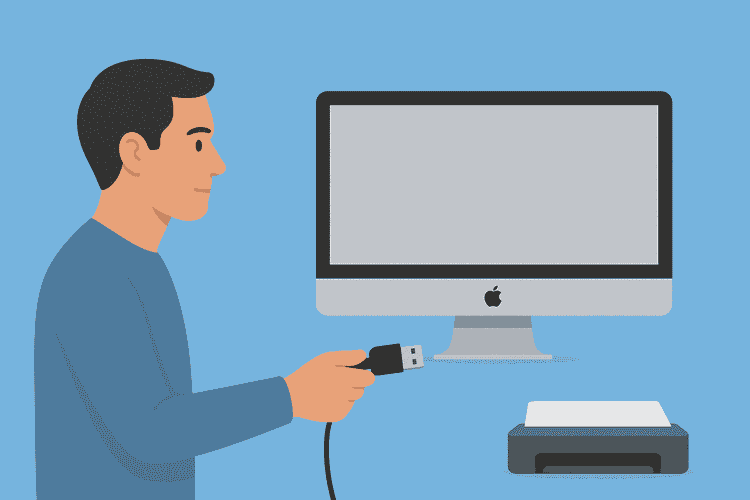
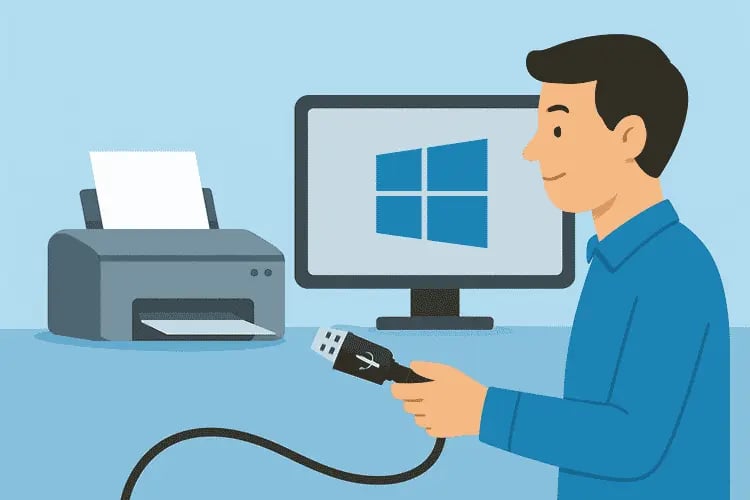
Method 1: Connect Your Printer to Windows PC via USB
A wired printer connects to your computer using a USB or Ethernet cable. Follow this step-by-step guide to set up your wired printer on a Windows PC.
1. Visit Official printer website and enter your printer model. Download the printer driver for Windows and follow the on-screen instructions. Place your printer close to your computer so the USB cable connects securely without tangling.
2. Make sure your printer is plugged into a reliable power source and turned on. Next, connect the printer to your computer using a USB cable while the computer is powered on and unlocked. In many cases, the operating system will automatically detect the printer and begin installing the required drivers. If installation does not start automatically, you can download the driver from printer official website.
3. On your windows computer, click the Start menu in the lower-left corner of the screen and select the settings from the drop-down menu. It’s in the Start window’s lower-left corner. In the Settings window, choose Devices from the drop-down menu. Near the top of the Settings box, you’ll find this option.
4. In the Devices section, select Printers & Scanners from the left-hand menu. At the top of the window, click Add a printer or scanner. Windows will search for available devices, including your printer. Once it appears in the list, you can select your printer.
5. Click Add device next to your printer's name. Your printer will typically be listed by its manufacturer, model name, and model number. If your printer does not appear, click “The printer that I want isn’t listed” below the Add a printer or scanner button, and follow the on-screen instructions to complete the setup.
6. Follow the on-screen instructions to complete your printer setup. Depending on your printer model, you may need to adjust settings before it’s ready to use. If prompted, insert the setup CD Disk that came with your printer. For printers without a CD, you can download the drivers from manufacturer’s official website to complete the installation safely and securely.
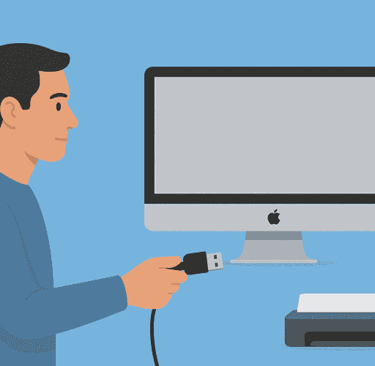
Method 2: Connect Printer to Mac PC via USB cable
Step 1: Download Printer Drivers
Go to HP official website 123.hp.com and enter your printer model. Download and install the printer driver for Windows. Keep your printer within Wi-Fi range for a stable connection.
Step 2: Prepare Your Printer
Turn on your printer. From the control panel, open the Wireless Setup Wizard or press the Wi-Fi button (model dependent). Select your Wi-Fi network and enter the password.
Step 3: Open Windows Printer Settings
On your Windows PC, go to Start > Settings > Devices > Printers & Scanners.
Step 4: Add Your Wireless Printer
Click Add a printer or scanner. When your printer appears, select it and click Add device. If it doesn’t appear, choose the printer I want isn’t listed and add it manually with the network name or IP address.
Step 5: Complete Setup
Follow on-screen prompts to finish installation. Install the drivers from official website or the setup CD (if available). Keep your printer near the router for reliable wireless printing.
Method 3: Connect HP Printer to Windows Computer (wireless)
Method 5: Connect Printer to Wireless Network – Step-by-Step Setup)
Setting up a printer on your Mac through a wired USB connection is quick and simple. Follow these steps to get your printer connected and ready to print.
1. Before connecting your printer, make sure your Mac is up to date. Make sure you have the latest drivers and updates installed from 123 hp printer setup.
2. Place your printer near your Mac so the USB cable can reach without tangling. Proper placement prevents connection issues and keeps your workspace organized.
3. Press the power button on your printer. Ensure its connected to a power source and is fully powered on before proceeding.
4. Connect your printer to your Mac computer using a USB cable. The USB cable should be plugged into a USB port on the housing of your Mac PC. If your Mac does not have a standard USB port, you will need a USB-C to USB adapter to complete the connection. Ensure that your Mac is powered on and you are logged into your account before starting the setup process.
5. Click on “Install” and follow the on-screen instructions to complete the Mac printer setup. If your printer is compatible with macOS, the installation will usually begin automatically. In some cases, you may need to confirm by selecting the “Download & Install” option. Once the installation process is finished, your printer will be successfully added to your Mac and ready to use for printing.
Quick Steps to setup wireless printer on Mac Computer:
Check Printer Type – Wi-Fi or Bluetooth. Some Wi-Fi printers need an Ethernet cable for first-time setup.
Place Devices – Keep your Mac computer and printer near to the Wi-Fi router.
Power On Printer – Connect to power and press the power button.
Wi-Fi Setup – On the printer screen, select your wireless network and enter the password.
For Bluetooth printer: press the Pair button.
Mac Settings – On your Mac, go to Apple Menu > System Preferences > Printers & Scanners.
Add Printer – Click + Add Printer, choose your printer's name, and connect.
Finalize Connection – Printer will appear in Printers & Scanners window. Make sure Mac and printer are on the same Wi-Fi.
✅ Your wireless printer is now connected to Mac. Ready to print, scan, and copy.
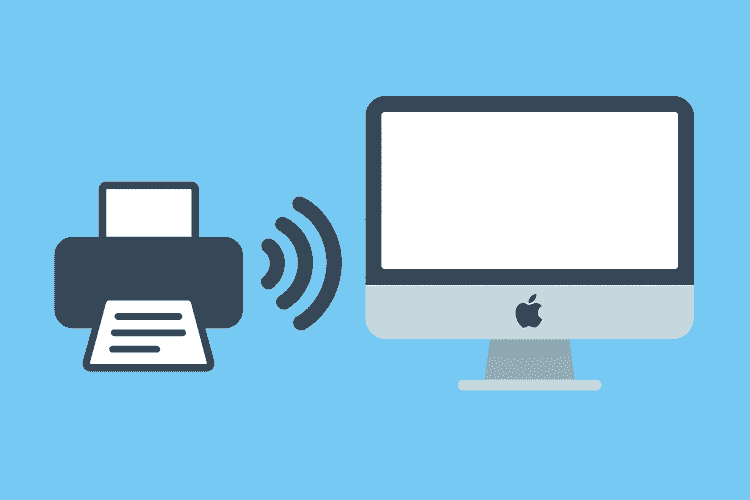
Wireless Network Connection makes it easy to connect printers, computers, and phones to Wi-Fi without cables for fast, secure access. Follow this step-by-step guide to setup your wireless network printer:
Install Printer – Setup the printer on your Windows PC or Mac using USB or wireless setup.
Windows Setup – On Windows, go to Start > Settings > Network & Internet > Status.
Enable Sharing – Under network settings, select Private Network and turn on File & Printer Sharing.
Connect from Windows PC – On other Windows computers connected to the same Wi-Fi network, add the shared printer. Keep the host PC powered on.
Connect from Mac – On Mac, open Apple Menu > System Preferences > Printers & Scanners > + Add Printer > Windows tab. Select your printer's name to connect.
✅ Your wireless printer is now connected to Wi-Fi and ready to use on Windows and Mac computers.
Method 4: Connect Wireless Printer to Mac Computer – Step-by-Step Guide
How to Setup and Connect a Printer to Your Computer via 123.hp.com/Setup
Frequently Asked Questions
Why Can’t print email from computer?
If you can’t print emails from your Windows or Mac computer, first check that your printer is properly connected through Wi-Fi or USB. Outdated or missing drivers often cause printing problems, so update your printer driver using the official setup page or recommended software. This usually fixes common issues like “can’t print email” or “printer offline.”
Can’t connect printer to computer?
Having trouble printing or scanning? Try These quick Fixes. Restart printer and PC, check USB cables or Wi-Fi network, ensure the printer is on without error lights, update or reinstall drivers, and add the printer through settings. These quick steps fix issues like Printer connection and Printer offline errors.
Do you provide Remote Assistance for HP Printers?
Yes! We provide remote assistance for HP printers as well as for all major printer brands – Canon, Epson, Brother, Dell, Samsung, and more. Whether you’re a home user, small business, or enterprise, we offer fast, secure, and affordable remote support for HP printer to keep your printing running smoothly.
Can’t scan to the computer?
If your printer or scanner isn’t scanning to your computer, use the HP Smart app or the Easy Start setup tool. These solutions walk you through connecting your device, enabling scanning features, and fixing common scanning issues.
Can you set up my printer on multiple devices?
Yes — your printer can be installed on multiple devices such as computers, laptops, and mobiles. By installing the drivers and connecting via Wi-Fi, USB, or a network, we ensure smooth printing and scanning across all your devices.
Q: Why is my HP printer not printing properly?
A: If your HP printer is not printing clearly, check the ink or toner, restart the printer, and make sure it’s connected to Wi-Fi. You can also run HP printer troubleshooting or use HP printer offline fix tools. Visit Hewlett Packard Printer Support for detailed help.
Disclaimer
Smartdevicesassistance is an independent service provider offering expert printer troubleshooting and technical Assistance. We are not affiliated, sponsored, endorsed, or in any way officially connected with any printer manufacturers or their parent companies, including but not limited to HP, Brother, Canon, Epson, Lexmark, Samsung, or any other brand. At SmartDevicesAssistance, all fundamental printer setup instructions and step-by-step troubleshooting guides published on our website are provided completely free of charge. For individuals or businesses requiring advanced technical assistance, tailored troubleshooting, or specialized configuration support, we may offer premium, paid services. Such options are always communicated transparently. All product names, logos, brands, and trademarks mentioned on this website or in our materials are the property of their respective owners. They are used solely for the purpose of identifying the products and services our technicians guide and help customers find relevant assistance. If you have any questions regarding this disclaimer or our services, please feel free to contact us at macjeffus43@gmail.com
Address: 817 Midas Ln Alvin, TX 77511
© 2023. All rights reserved.